Northflank is a comprehensive developer platform to build and scale your apps. It has an outstanding developer experience and has a free tier for small projects, and is well-suited for deploying and scaling Vendure applications.
This guide will walk you through the steps to deploy a sample Vendure application to Northflank.
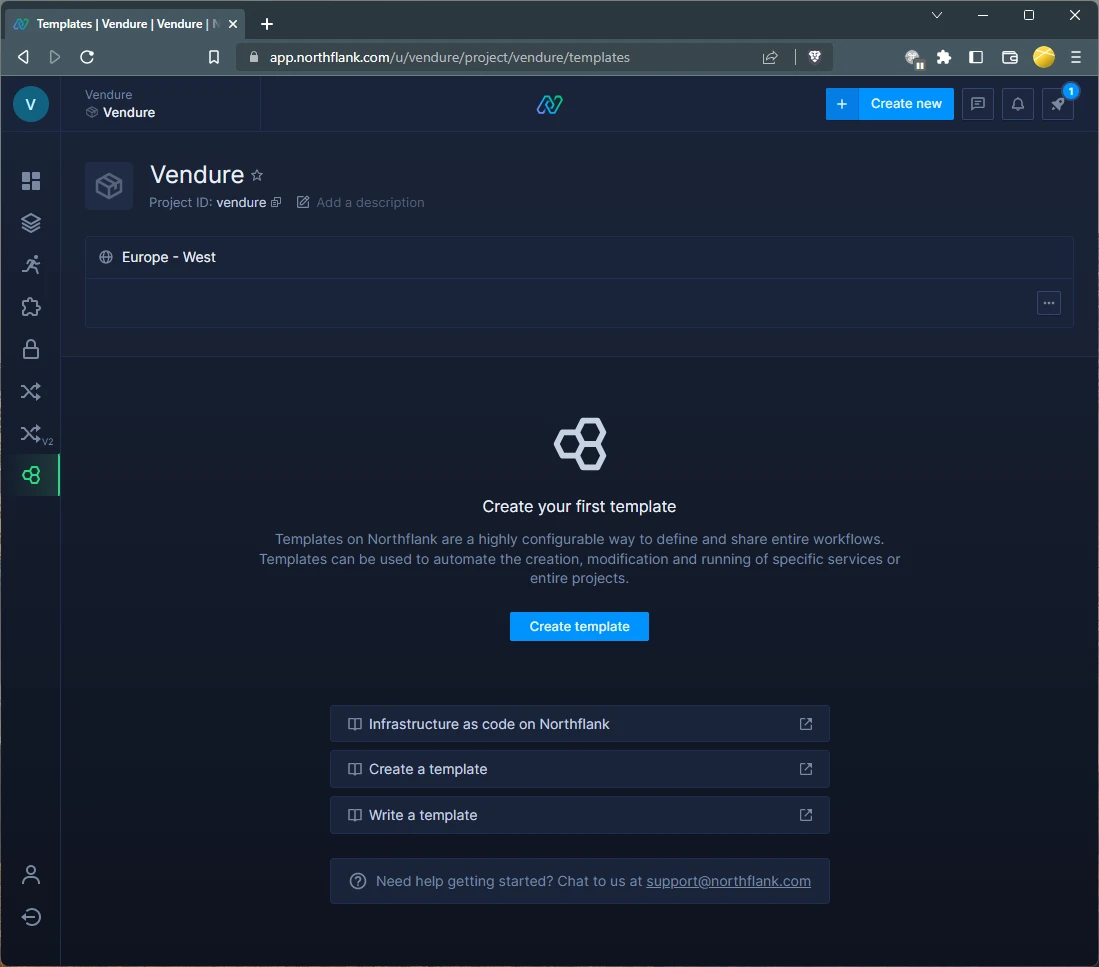
Set up your free Northflank account
Go to the Northflank sign up page to create a new account. As part of the sign-up you’ll be asked for credit card details, but you won’t be charged unless you upgrade to a paid plan.
Create a custom template
A template defines the infrastructure that is needed to run your Vendure server. Namely, a server, a worker, and a Postgres database.
Click the templates menu item in the left sidebar and click the “Create template” button.
Fill in the name of the template (though note that the name will be replaced by the name “Vendure Template” based on the configuration below).
Now paste the following configuration into the “Template” code editor:
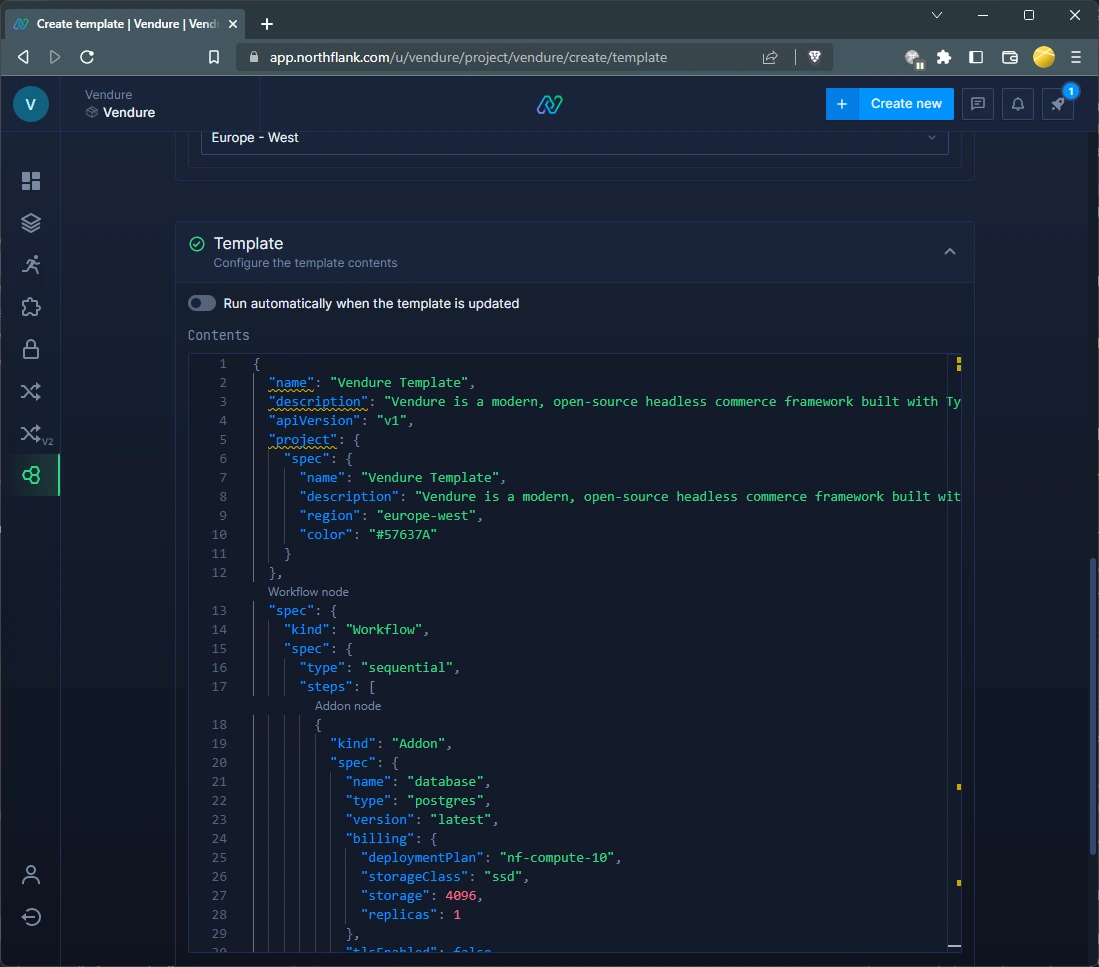
{
  "name": "Vendure Template",
  "description": "Vendure is a modern, open-source headless commerce framework built with TypeScript & Node.js.",
  "apiVersion": "v1",
  "project": {
    "spec": {
      "name": "Vendure Template",
      "description": "Vendure is a modern, open-source headless commerce framework built with TypeScript & Node.js.",
      "region": "europe-west",
      "color": "#57637A"
    }
  },
  "spec": {
    "kind": "Workflow",
    "spec": {
      "type": "sequential",
      "steps": [
        {
          "kind": "Addon",
          "spec": {
            "name": "database",
            "type": "postgres",
            "version": "latest",
            "billing": {
              "deploymentPlan": "nf-compute-10",
              "storageClass": "ssd",
              "storage": 4096,
              "replicas": 1
            },
            "tlsEnabled": false,
            "externalAccessEnabled": false
          }
        },
        {
          "kind": "SecretGroup",
          "spec": {
            "name": "secrets",
            "secretType": "environment-arguments",
            "priority": 10,
            "secrets": {
              "variables": {
                "APP_ENV": "production",
                "COOKIE_SECRET": "${fn.randomSecret(32)}",
                "SUPERADMIN_USERNAME": "superadmin",
                "SUPERADMIN_PASSWORD": "superadmin",
                "DB_SCHEMA": "public"
              }
            },
            "addonDependencies": [
              {
                "addonId": "database",
                "keys": [
                  {
                    "keyName": "HOST",
                    "aliases": ["DB_HOST"]
                  },
                  {
                    "keyName": "PORT",
                    "aliases": ["DB_PORT"]
                  },
                  {
                    "keyName": "DATABASE",
                    "aliases": ["DB_NAME"]
                  },
                  {
                    "keyName": "USERNAME",
                    "aliases": ["DB_USERNAME"]
                  },
                  {
                    "keyName": "PASSWORD",
                    "aliases": ["DB_PASSWORD"]
                  }
                ]
              }
            ]
          }
        },
        {
          "kind": "BuildService",
          "spec": {
            "name": "build",
            "billing": {
              "deploymentPlan": "nf-compute-10"
            },
            "vcsData": {
              "projectUrl": "https://github.com/vendure-ecommerce/one-click-deploy",
              "projectType": "github"
            },
            "buildSettings": {
              "dockerfile": {
                "buildEngine": "kaniko",
                "dockerFilePath": "/Dockerfile",
                "dockerWorkDir": "/",
                "useCache": false
              }
            }
          }
        },
        {
          "kind": "Workflow",
          "spec": {
            "type": "parallel",
            "steps": [
              {
                "kind": "DeploymentService",
                "spec": {
                  "name": "server",
                  "billing": {
                    "deploymentPlan": "nf-compute-10"
                  },
                  "deployment": {
                    "instances": 1,
                    "docker": {
                      "configType": "customCommand",
                      "customCommand": "yarn start:server"
                    },
                    "internal": {
                      "id": "build",
                      "branch": "master",
                      "buildSHA": "latest"
                    }
                  },
                  "ports": [
                    {
                      "name": "p01",
                      "internalPort": 3000,
                      "public": true,
                      "protocol": "HTTP"
                    }
                  ]
                }
              },
              {
                "kind": "DeploymentService",
                "spec": {
                  "name": "worker",
                  "billing": {
                    "deploymentPlan": "nf-compute-10"
                  },
                  "deployment": {
                    "instances": 1,
                    "docker": {
                      "configType": "customCommand",
                      "customCommand": "yarn start:worker"
                    },
                    "internal": {
                      "id": "build",
                      "branch": "master",
                      "buildSHA": "latest"
                    }
                  }
                }
              }
            ]
          }
        },
        {
          "kind": "Build",
          "spec": {
            "id": "build",
            "type": "service",
            "branch": "master"
          }
        }
      ]
    }
  }
}
Then click the “Create template” button.
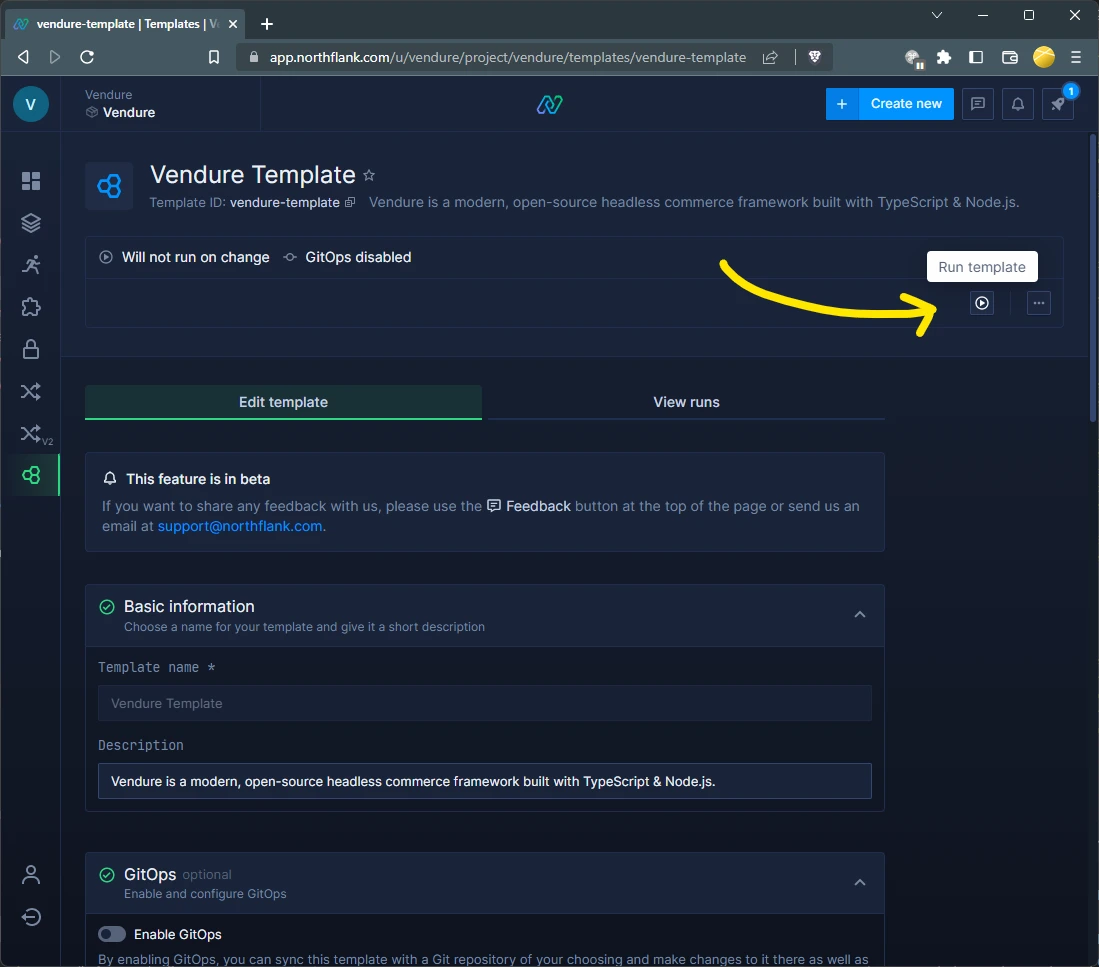
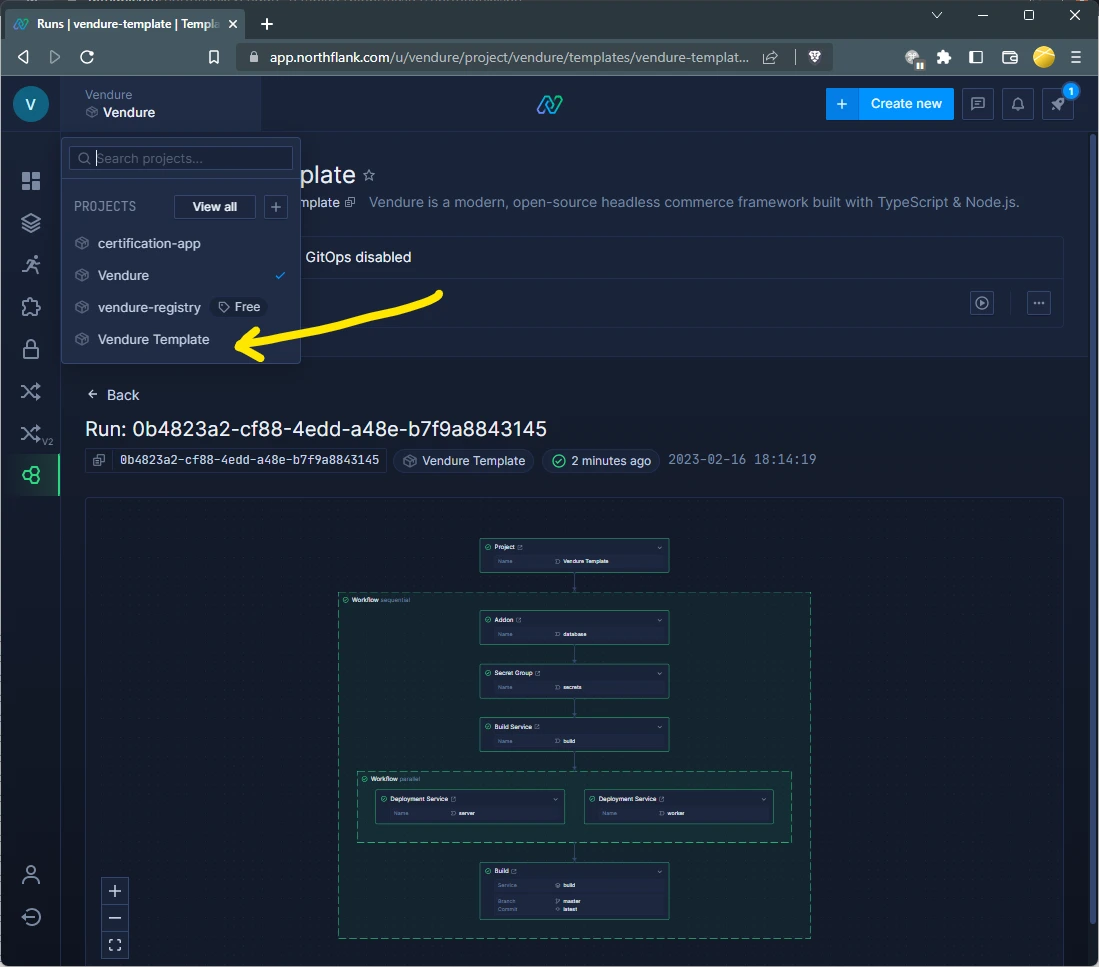
Run the template
Next, click the “run template” button to start the deployment process.
Once the template run has completed, you should be able to see the newly-created project in the project selector.
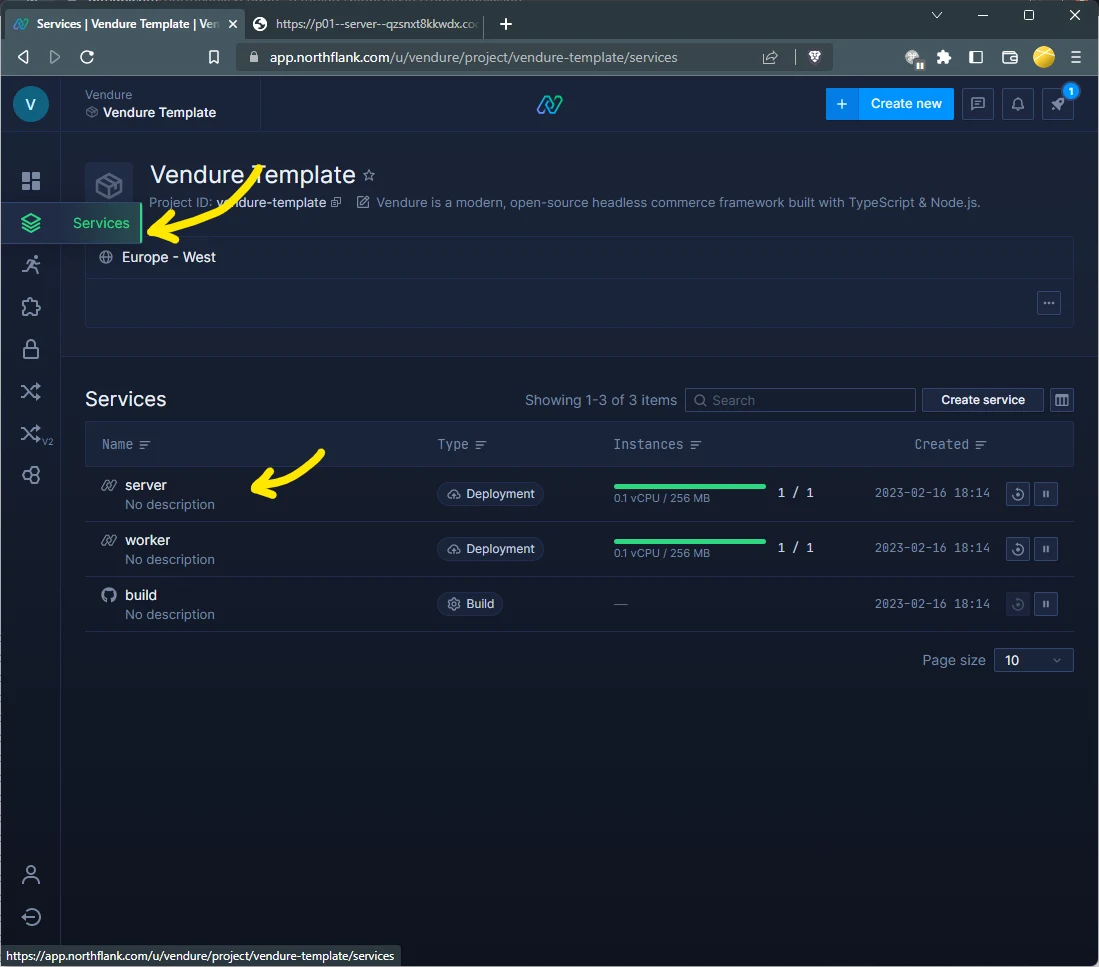
Find the public URL
Click the “Services” menu item in the left sidebar and then click the “Server” service.
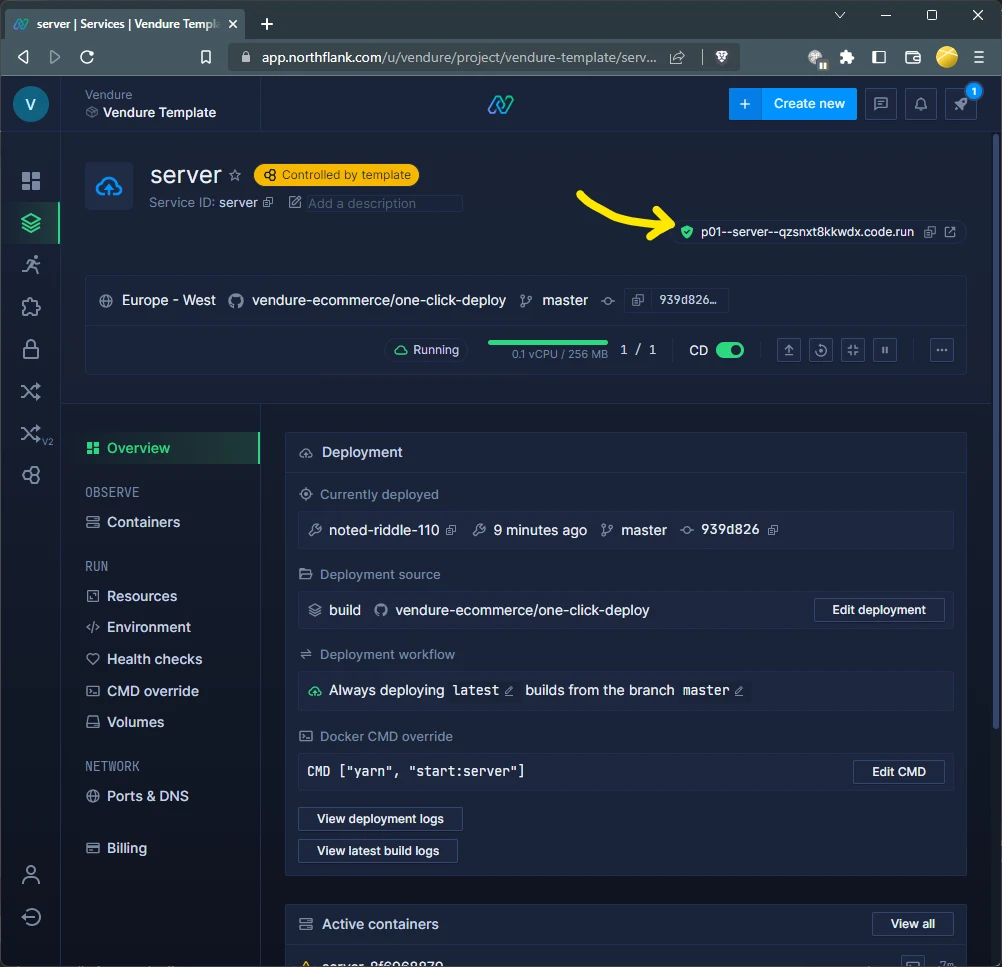
In the top right corner you’ll see the public URL of your new Vendure server!
Note that it may take a few minutes for the server to start up and populate all the test data because the free tier has limited CPU and memory resources.
Once it is ready, you can navigate to the public URL and append /admin to the end of the URL to access the admin panel.
Congratulations on deploying your Vendure server!
Next steps
Now that you have a basic Vendure server up and running, you can explore some of the other features offered by Northflank that you might need for a full production setup:
- Set up a MinIO instance for storing assets using our S3 asset storage integration.
- Set up a Redis instance so that you can take advantage of our highly performant BullMQJobQueuePlugin and set up Redis-based session caching to handle multi-instance deployments.
- With the above in place, you can safely start to scale your server instances to handle more traffic.
- Add a custom domain using Northflank’s powerful DNS management system.